Creating the Life ~ Copyright 2012. Powered by Blogger.

30 things my 30's taught me

THIS IS 40!


As the sun sets and I blow out the candles to my 30s, I’ve come to the conclusion that something beautiful comes from this decade of life. 

An awakening. 


A birth of your true self seems to come. You come to an age where you realize other people’s opinions don’t matter and you bloom into the person you were meant to be.


So here’s my list of advice that my 30s taught me:


  1. It’s okay to stand up for yourself. It doesn’t make you a bitch. It shows you respect yourself
  2. 4 quarters > 100 pennies. A small group of friends is wayyyy better
  3. Set boundaries. 
  4. Love your body
  5. Love yourself. Comparison is truly the thief of joy!
  6. Laugh. Often. And until it hurts
  7. Don’t take everything too seriously 
  8. Travel
  9. Find perspective 
  10. Trust your gut
  11. Compliment strangers- put smiles on faces
  12. Call that person.
  13. Enjoy the moment
  14. The things that seem hard now… will be a blip later
  15. Enjoy time with yourself. 
  16. Shine. 
  17. Take care of yourself. Inside and out. You only have this one body and life.
  18. Wear sunscreen and moisturizer 
  19. Be yourself
  20. Put the credit card down.
  21. Read
  22. Take naps
  23. Be a kind human
  24. Don’t be selfish 
  25. Mental health is important 
  26. Take days off and remember it’s just a job
  27. Growth comes from failure
  28. Say no
  29. Ditch the toxic people
  30. Be true to your moral and ethical compass


Don’t be mistaken. 

This is a journey. Not a race. 

There is no finish line. 

It will be messy. You will cry. 

But you will also smile. 

You will laugh. 

You will love. 

You will bloom. 

You are embarking on a beautiful new beginning to your true self. 

Enjoy the ride. 


your photo name

teacher tip- THE BEST dry erase erasers

I know, I know. You’ve heard that these are the best thing since slice bread for those dry erase boards. 


But what if I told you, you were wrong?

What if I told you there is something better out there and will last you YEARS!?


These! These are where it’s at, my teacher friends! 


These microfiber ‘dusters’ are 1000x’s better and will have you tossing those make up pads in the trash like I did. Still a Dollar Tree find so cost effective, but they actually work and will last you years!


Simply remove and toss the handle part of the duster and give each of your students (or they can share) a microfiber eraser. 

💙They are bigger so it becomes quicker and easier to erase. 

💙They are soft so they don’t scratch your boards. 

💙And they are washable! I take mine home at the end of every year and toss them in the wash. My class set has been going strong for 3 years now! 


So, if you are looking for something to upgrade in your classroom this year…. I dare you to toss those make-up pads and give these a try! You won’t regret it!


teach. create. love life.


your photo name

Paper Flower Classroom Decor How-To

These flowers are a showstopper for very little money! Whether for your classroom decor, nursery, or a party- with a little time and effort, you can create these beauties that will last years!


Now, I am not the first to ever write a post on these (in fact I am going to direct you to someone else’s site for the template), but I get tons of questions and requests about them every year I post my classroom décor.


The first thing you will want to do is find a template. There are hundreds of them out there if you just Google ‘paper flower template’. I prefer this one. 


Once you find your template, you can do one of two things.

If you are talented at using your Cricut you can use the files to cut that way. If you are old school like me- start tracing and cutting!


The number of petals you will need will depend on the size of the flower you want. 

After you have all pieces cut out, you will want to roll the edges of the petals to give them personality. I use a marker or pencil to do this. 


You will also need a small circle to attach the flower petals to. I usually just trace a cereal bowl. (I’m telling you there is nothing high tech or difficult here!)


Next you are going to fold the bottom of the petal where you will be gluing it to the center. After you fold it, you are going to want to put a 1.5 inch slit at the bottom.


Now it’s time to start gluing. 

First you are going to slightly overlap the pieces you created with that cut.


Then you will place glue on the back of the petal (the bottom part you folded) and attach to the circle. You will place them next to one another, you can even slightly overlap them if you’d like. 


Once all the largest petals are placed, you will move to the next layer with the next largest size petal. 


Continue this process until all petals are glued on. 


Now to finish. There are several types of centers you can create (again let Google be your friend). I like to utilize a frilly-type center. 

To create this, you will cut an 8.5 x 11 sheet of paper in half vertically. 


Take one piece and fold it in half like so. 


Now, cut slits (starting with the open edge) down the whole thing but be careful so you don’t go all the way through. 


Keeping it folded, roll it up. You may need a couple of them to make it big enough. 


 And glue them to the center. 


Now you’ve got one of the most beautiful flowers to decorate your classroom with.

Mix your sizes, choose your favorite colors, and create a show stopping backdrop!


teach. create. love life.
-Jenny


your photo name

emergency bag


Have you ever gotten to work and begin to question whether you applied deodorant that morning? Well, that was definitely me this week! But I didn't have to worry for long...


If you are a teacher, then this is a must have for your classroom!

Inside my desk drawer you will find an emergency bag. This simple little bag has come in handy several times over the years (or just this week) and is always one of the first things I put together at the start of the year.


What you fill this magical bag is up to you, but here is a peak into mine…. 


Deodorant- for whether you forget to apply in the morning rush, or you need a refresher after recess.


Advil- self-explanatory… especially this year!


Hairspray and Hairbrush- picture day, meeting, windy day, a case of lice…. 

Hair Ties- bad hair day, bad day, mask making you hot?


Safety Pins- I cannot tell you how many times students and coworkers have needed these over the years.


Mouth Wash and Dental Floss- freshen up after that lunch break or before a meeting


Chapstick/Lotion- Winter weather? Too much hand sanitizer or washing?


Money- snack or soda machine emergency 


Band-Aids- hang nail, papercut, or uncomfortable shoes


Not pictured- feminine products 😉


The key is to also remember to refill when you have used something, so you don’t find yourself stuck. 


**AND if you are a Teacher Mom with your child with you at school....learn from me this week with Red2 having some dental pain! Add some children's Tylenol and allergy meds to your bag as well.


Do you have an emergency kit in your classroom? What is a must have in your bag?


teach. create. love life.


your photo name

returning safely to the classroom during covid-19: masks and movement

Welcome to week 2 of our discussion on how to return safely to the classroom during Covid-19.

While I know many of us are starting the year virtually, some of us are facing the reality and fears of face-to-face. My goal through this series is to help other’s find solutions to problems- sometimes through simply asking questions to help you think through what will work in your rooms. Please remember I am NOT an expert on Covid-19 or on teaching during a pandemic. Your own school, administration, district, etc. needs to be the primary source to guide you in making decisions that keep you and your students safe. 


This week we will focus on masks and movement within the classroom.


Masks:


Problem- Where do we store them? / How do they keep track of them? / What about lunch time?


Solution- The BEST answer I have come across for this, and is actually quite simple, is the use of lanyards! In a lot of schools today students are already wearing a lanyard daily as they have to have a student ID. When students are not using their masks (maybe they are at their seats, have shifted to a shield, or are at lunch) they simply fold them in half and use the earpieces to clip them on. 


I would also suggest adding a simple and small element to this idea. If you have been teaching for any amount of time (especially at the elementary level) then you have probably experienced the child that comes back from lunch wearing their entire meal or milk carton. Now picture the mask attached to the lanyard….it has now become a napkin or is soaking wet. Or, it’s just hanging there rubbing and touching all dirty surfaces. 

Simply add a small sandwich bag to the lanyard and they can place the mask in there to keep it dry and clean. 


To make mine, I added a small piece of duct tape to the corner so it would reinforce the plastic and it wouldn’t rip as easily. I then hole punched it and hooked it to the lanyard. I opted for the slide to seal bags so it would be easier for younger kids to use. Names are also visibly displayed so there is no mixing up masks. 


At the end of the day, I would suggest having the students keep the lanyards at school. This will ensure that they aren’t going home to add germs or get lost. The students will (more than likely) be wearing their masks out for dismissal, so you won’t need to worry about them needing to clip to the lanyards. When storing them in the classroom I would suggest utilizing their toolbox or having clips (spread decently apart from one another) to hang them from.


Problem: Students aren’t wearing their masks correctly or taking them off correctly.


Solution: As with the start of every year, and more than ever with this year, teaching procedures is going to be a must! You will need to teach them the correct and incorrect ways to wear (modeling this will be great fun) and how to fold their masks in half so the clean side is facing in. 


Movement: 


Problem- Entering/Leaving Room


Solution- This is going to have to be well planned/rehearsed/explained event. This is also going to take longer than in previous years. 

When I think about this, I picture a scene from a wedding. The wedding planner is at the door of the church and when a bridesmaid gets to a certain point, they tell the next one to go. You are basically going to have to become the wedding planner for when entering the room. And more than likely, it will be that the students need to enter and go directly to their seats until you can come in and monitor further movements. 


Problem- Restroom and Drinks


Solution- If they have taken their masks off, they will need to put them back on before any movement. 

Restrooms will probably remain a very similar procedure as in previous years. If you don’t have a restroom in your room, you will need to think about how many you send out at a time and making sure you have sanitizer for when they reenter (because we know how handwashing goes at school). If you do a group bathroom break you will need to think about spacing while waiting and sending in fewer kids at a time. Again, following up with sanitizer maybe a good idea. 

Drinks however are another situation. Kids really need to be bringing bottles from home, and if they need more throughout the day they can fill the bottle. Drinking from a fountain needs to be off limits unless you are able to greatly sanitize after each use. So maybe think about getting some plastic cups (or extra bottles of water) that you can have on standby if someone forgets theirs for the day.


Problem- Lining up


Solution- This year, having a number/line order will be key! This is a way to reduce the number of contacts students have and can help with contact tracing. I suggest having marks on your floor (tape or other such things) so kids know where to stand. When not in the classroom, teach students how to place their arms in front of them to make sure they have a good 2-3 feet between each other.

Most of these are dry erase and you can write their numbers on them to help.

purchase here


Problem- Carpet Time


Solution- Spacing and is going to be the key to everything this year, and again having seating charts/number order. Depending on the size of your room, having carpet time may not be feasible anymore once you spread your desks out. If you do still have the ability, then using dots similar to the lining up stickers will help students know their place. 


You can read about previous ideas for your classroom library and supplies by clicking here.


Again, I would love for this to be a team effort. If you have ideas or concerns, please share them in the comments below. 


Next week we will tackle centers/small groups and classroom jobs. If you’re enjoying this series, please show some love and become a follower! 


your photo name

returning safely to the classroom during Covid-19: classroom libraries and supplies

First let me say this; I am not an expert.

I have never taught during a pandemic or anything like what educators are going to embark on this year. 

I do have 16 years of teaching experience in grades K-4. I have a bachelors and Masters degree in Elementary Ed. I have worked all but one of those years in Title 1 schools. 

With that being said, this blog series is my effort in creating solutions most teachers are worrying about. A way for us to hopefully work together and support one another. 


This week I am going to tackle the classroom library and supplies.


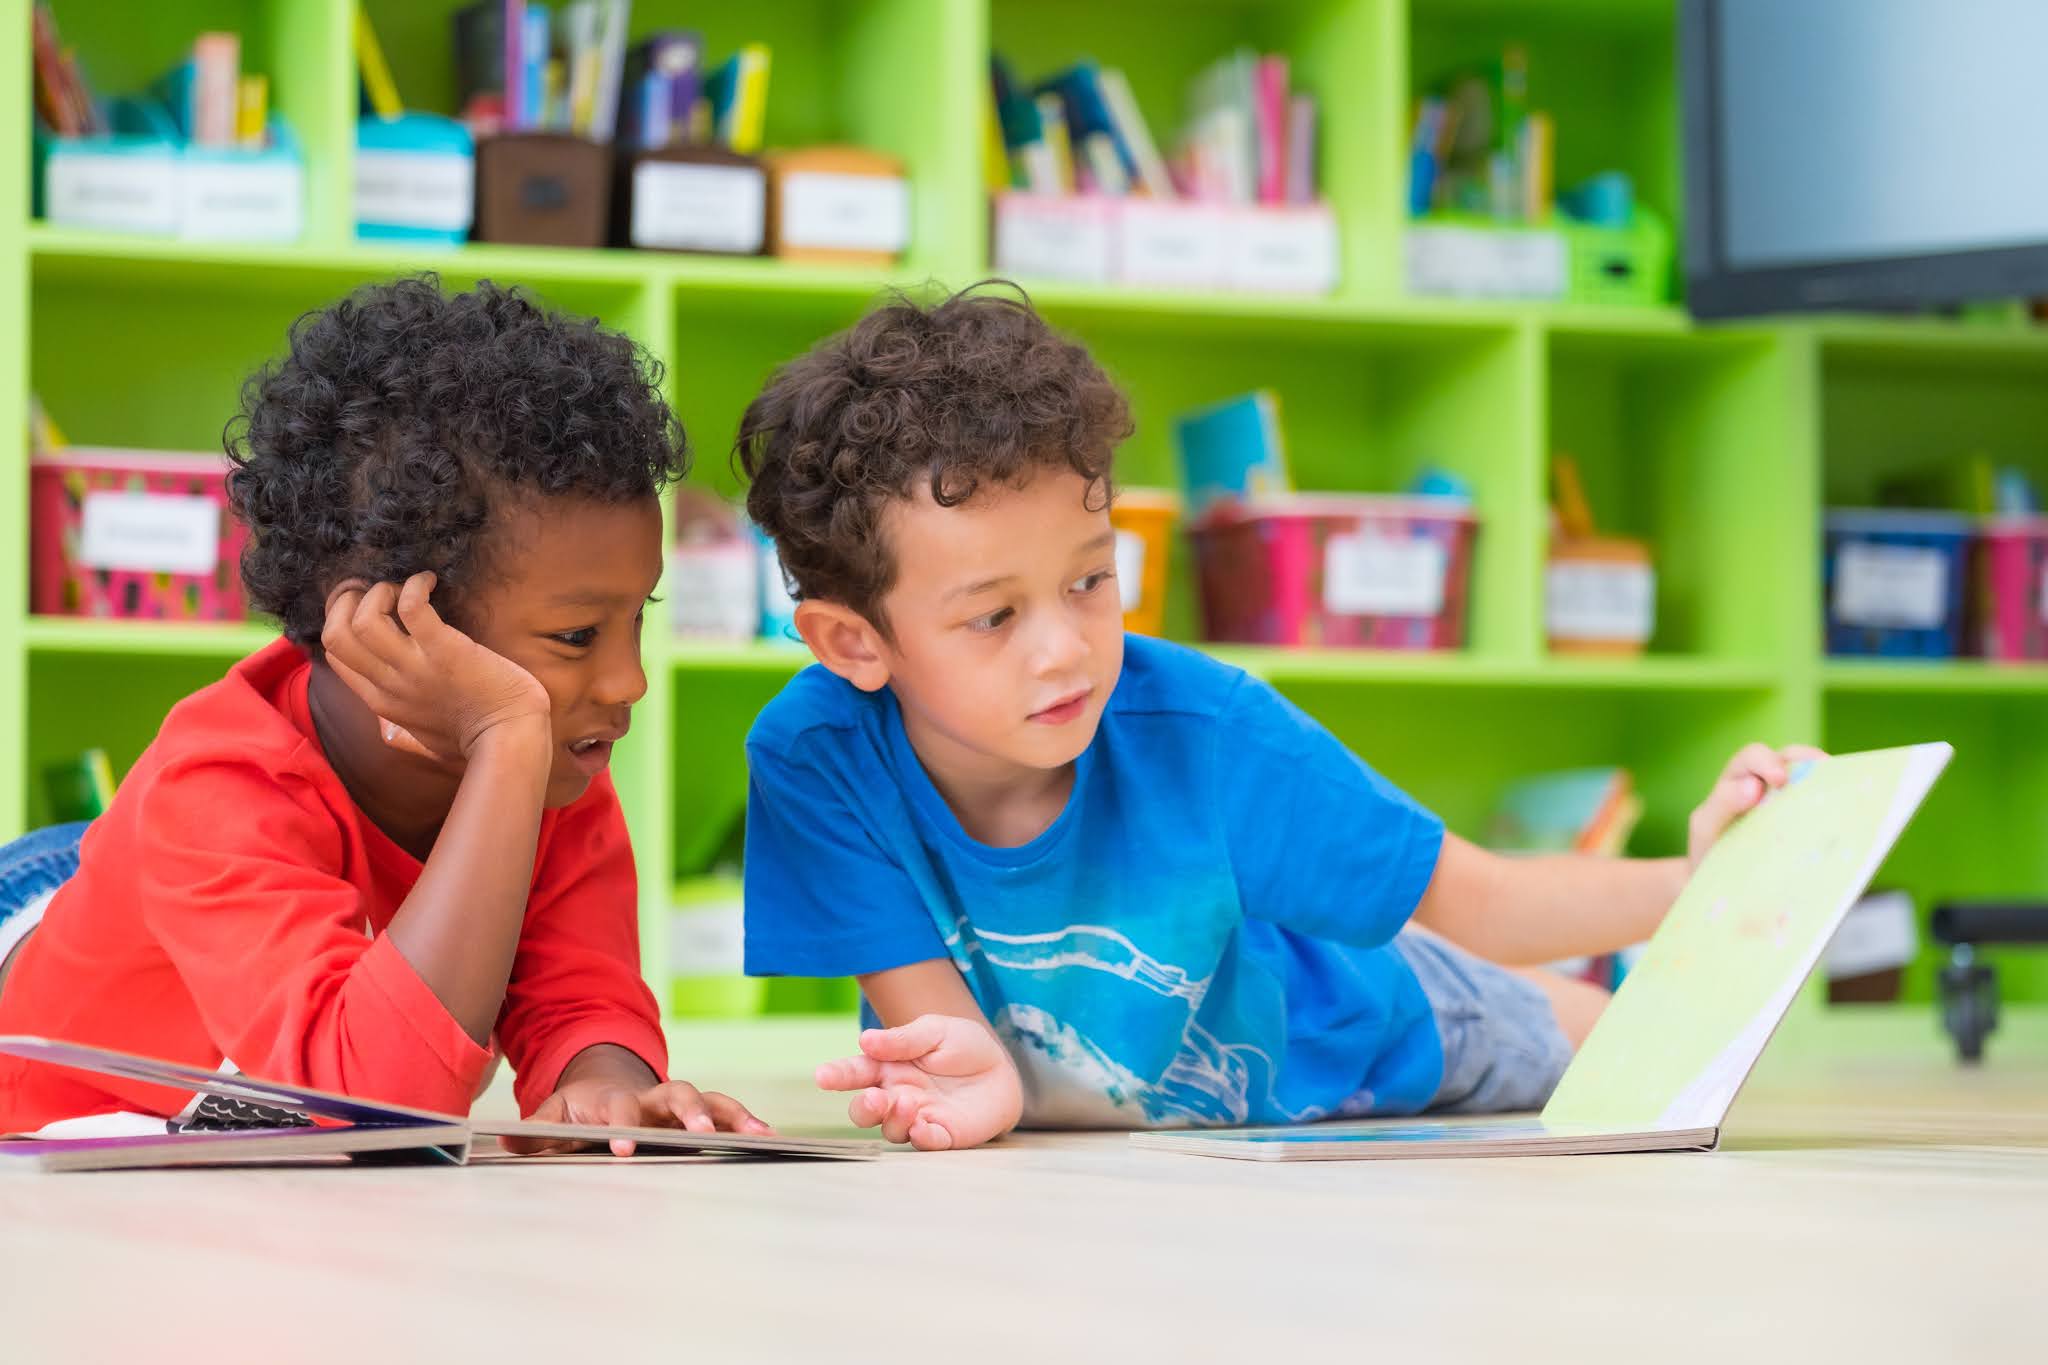
The Classroom Library-


Concern: Multiple students perusing the shelves at once. 

Solution: Create scheduled ‘shopping times.’ 

-Be specific with expectations and even set a timer (because we all know we have those Looky-Loos that will take all day). 

-Schedule them throughout the entire week and only allow 1 shopper at a time.

-Think about germs with this as well; Will you have them use sanitizer first? Will you have students wash hands after? Will you spray Lysol on books before the next one? Will you spread the student shopping times way out to allow time for germs to ‘disappear’?

-If they need an additional shopping time because they complete a book or it isn’t the right fit, create a system for your room. Will it be as simple as them raising their hands and then you create a list? Will they place a sign on their desk to let you know?


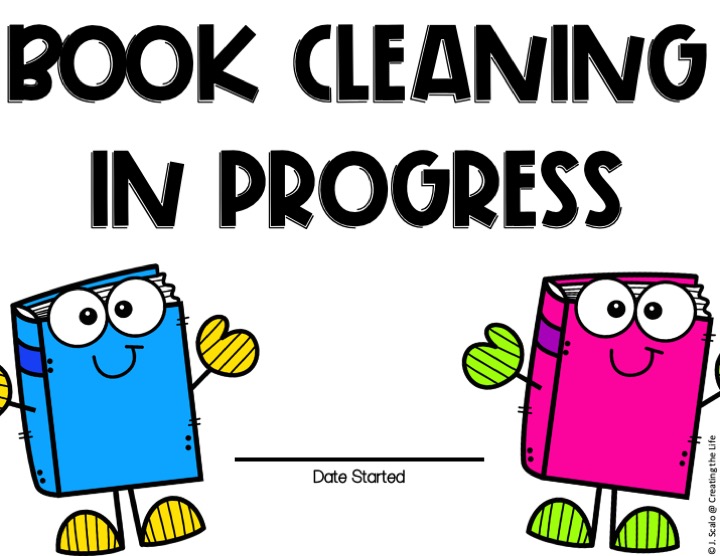
Concern: Returning books to shelves with germs on them.

Solution: Create a bin for students to return them to and allow time for quarantine. 24-48 hours with a possible light spray of disinfectant should suffice. You can find the above poster as a FREEBIE in my TPT store or by click here

-Please keep in mind that everyday students may need to return books, and more than one return bin may be needed. 

-Create an expectation and routine for how this is done. Reducing student movement in the classroom will more than likely be our new norm. 

Will you collect those books at the end of the day by walking around with the bin yourself?

Will you just monitor them one at a time with their masks on?
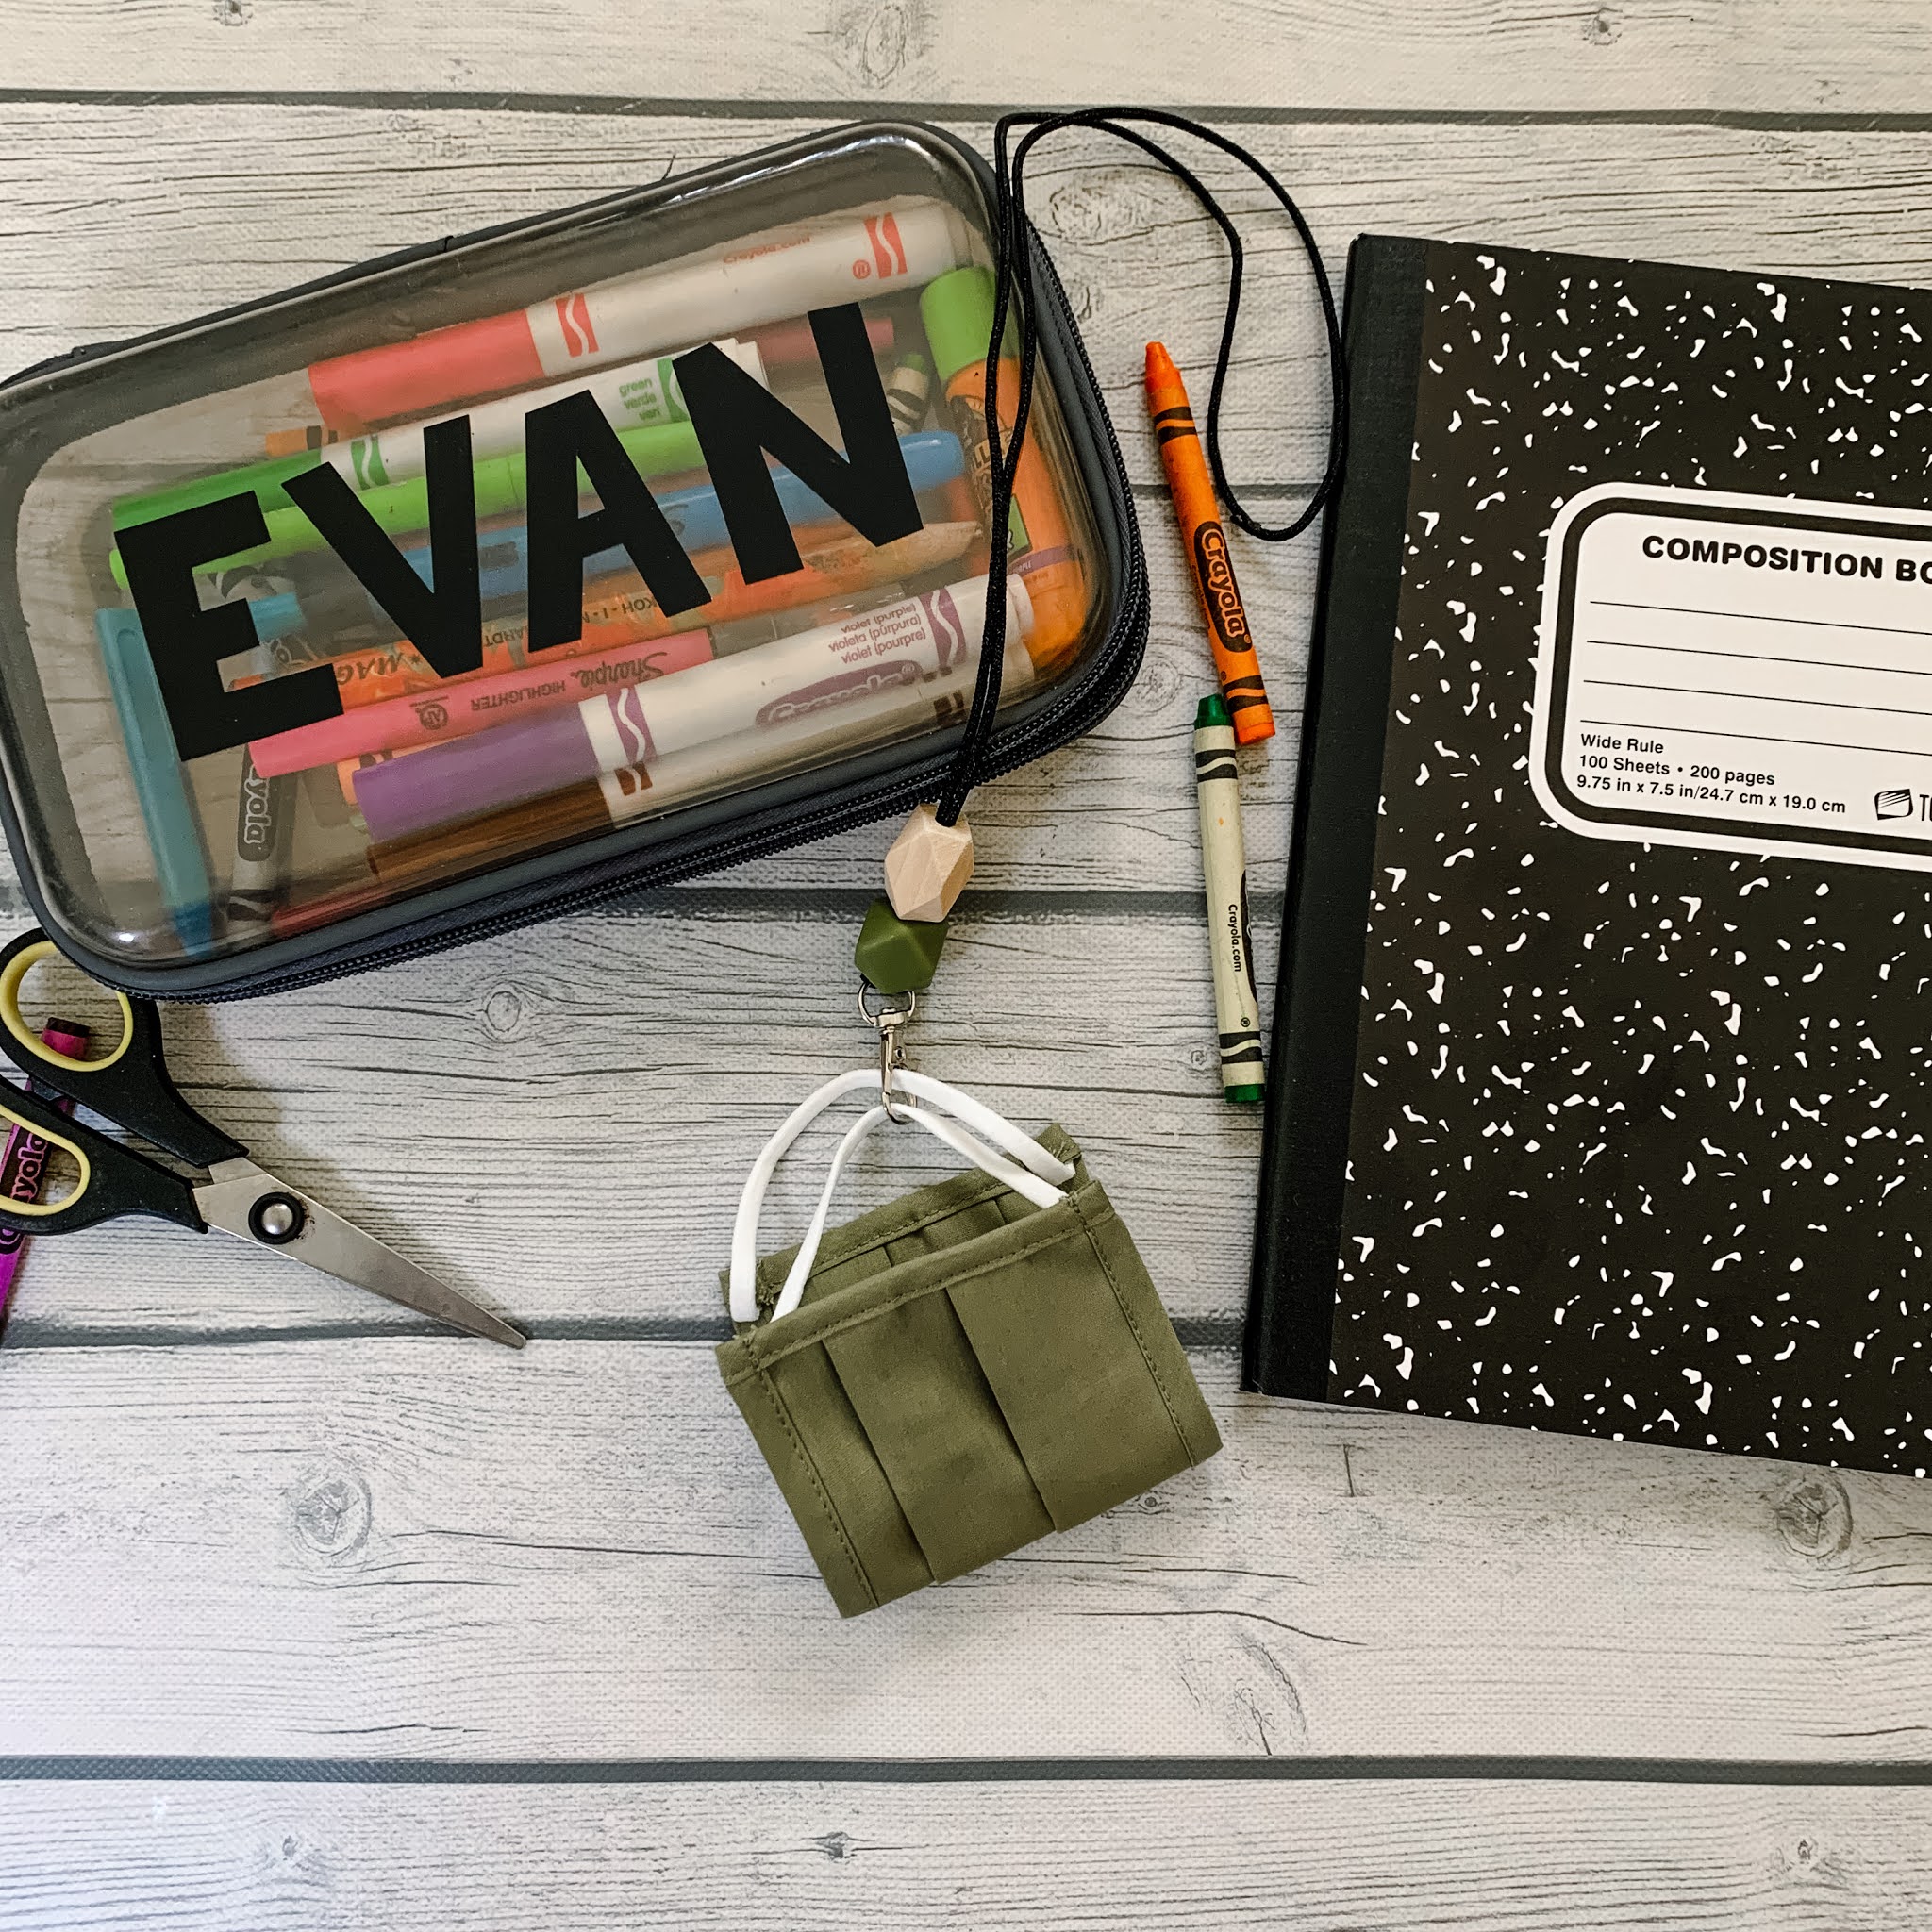


Supplies-


Concern: Classroom shared supplies such as white boards, clip boards, and markers.

Solution: Those classroom supplies that we used to house in one location, are now a thing of the past. Students will now need to house all ‘classroom teacher-owned items’ in their own desks. This will keep movement in the classroom (and sanitizing of supplies) to a minimum. If you do not have desks in your room, utilizing a bin from the dollar store or crates may contain the items for you. 


Concern: Mixing up items between students. 

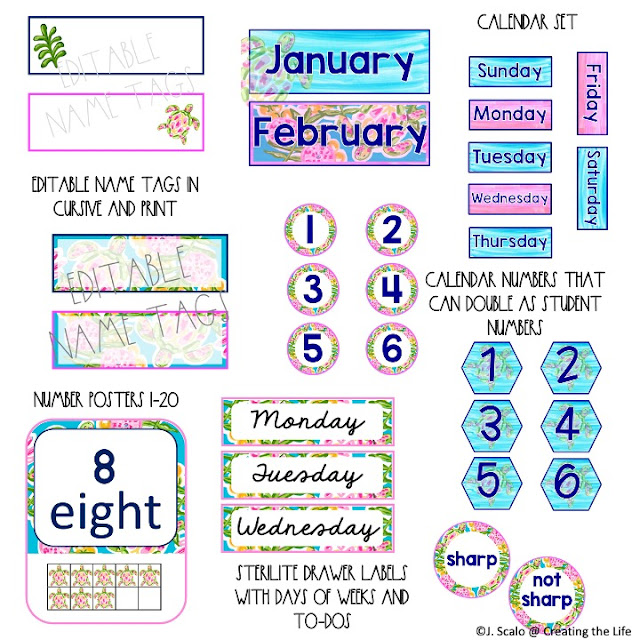
Solution: LABEL, LABEL, LABEL! If you can stick a label on it, DO IT! Whether it is their actual name or an assigned number in class, this will be pertinent to making sure things do not get shared. Pencils (using washi tape is a great way or simply using a sharpie to write on them), textbooks, glue sticks, dry erase markers, cubbies, book bins, etc. 


Concern: Housing personal items from home- such as backpacks, water bottles, and lunch boxes.

Solution: It is going to be imperative that we keep these items separate. We can no longer have the big bin to place these things in or set them on the counter. I’ve never been a fan of hanging backpacks on chairs (it’s messy, they can easily access things they shouldn’t, they are trip hazards), however this will be my solution this year. Using hooks (unless spread out well) will allow them to touch one another. Using cubbies (my usual go-to) allows for some separation but touching can still occur, and student interaction will be high at arrival and dismissal. Keeping them at their seats will allow them to keep their lunchboxes and water bottles safely secure as well. 


*As with the start of any beginning of the year, expectations/rules/procedures will need to be taught. Obviously, district and school mandates need to be followed first and foremost. 


As we embark on this new world of masks, shields, 6 feet apart, desks, no group work, plexiglass dividers, and whatever else gets thrown at us… we need to work together. 

Like I said at the beginning, I am not an expert at teaching in a classroom during Covid-19. If you have ideas, suggestions, or worries…. Please leave a positive/helpful comment below to add to this ‘discussion.’


teach. create. love life.


your photo name

classroom decor- tropical, blue, and Lilly inspired

Decorating my classroom is one of my favorite hobbies. 
My theory is, my students and I (probably) spend more time there than at home...so I may as well make it nice!
And as my years of teaching have added up, my decorating style has evolved, and I allow it to become a creative outlet...hence why I make my own now. 😊

This is my newest one to hit my TPT store


Being a Florida Girl, I LOVE to bring in the tropical bright colors and wildlife into my classroom. With a watercolor flair and nod to Lilly Pulitzer, this EDITABLE classroom decor pack will sure to be a student favorite. 


In this classroom decoration pack you will find 
-an upper and lower case large alphabet to display, 
-along with a smaller one that can be used for a word wall. The word wall alphabet features a turtle icon on the vowels to make them stand out. 
-There are also 2 design layouts to choose from for subject area buntings. 

This tropical blue turtle design also includes 
-EDITABLE name tags in 2 designs, number posters (1-20), 
-calendar pieces (months, days, and 2 sets of number designs that have an EDITABLE section), 
-Sterilite organizing drawer labels, 
-pencil labels. 

Lastly, in this fun and brightly colored pack you will find 
-posters to take First Day of School pictures of your students (2 designs and pre-K through 6th grade),  
-EDITABLE watercolor turtles that you can type your students names onto for the classroom jobs
-Classroom job signs that are EDITABLE as well 
-A behavior system that is completely EDITABLE so you can tailor it to your style
-and EDITABLE binder covers that will keep you organized and stylish

Creating classroom decor that is fun, bright, and friendly for students is one of my passions. I hope you love this new design as much as I do! If you'd like to check it out or purchase click here

teach. create. love life. 


your photo name
Back to Top